Tutorial: Post Processing 3D Renders
Tags: posts, blender, tutorial, art,
Some methods for post-processing 3d renders to make them prettier.
Layers in Clip Studio
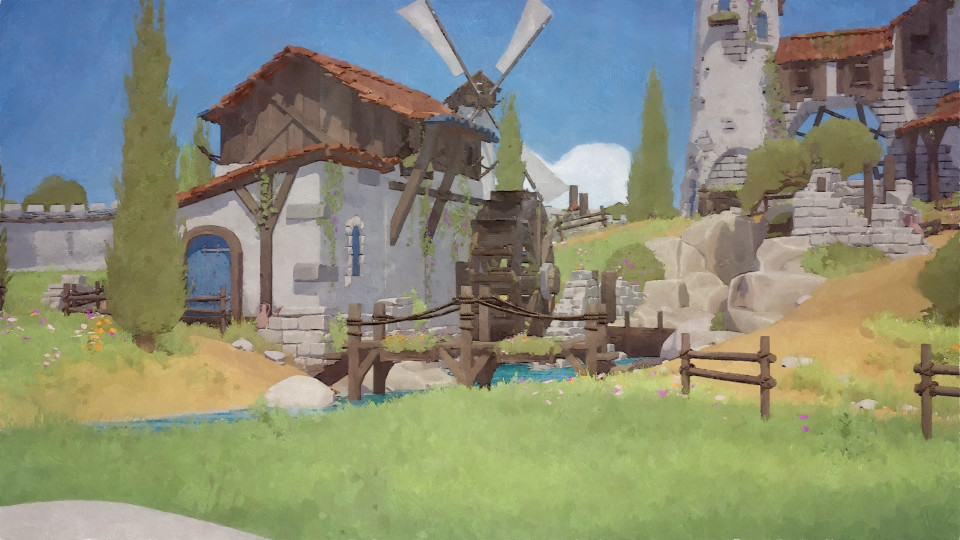
Original:
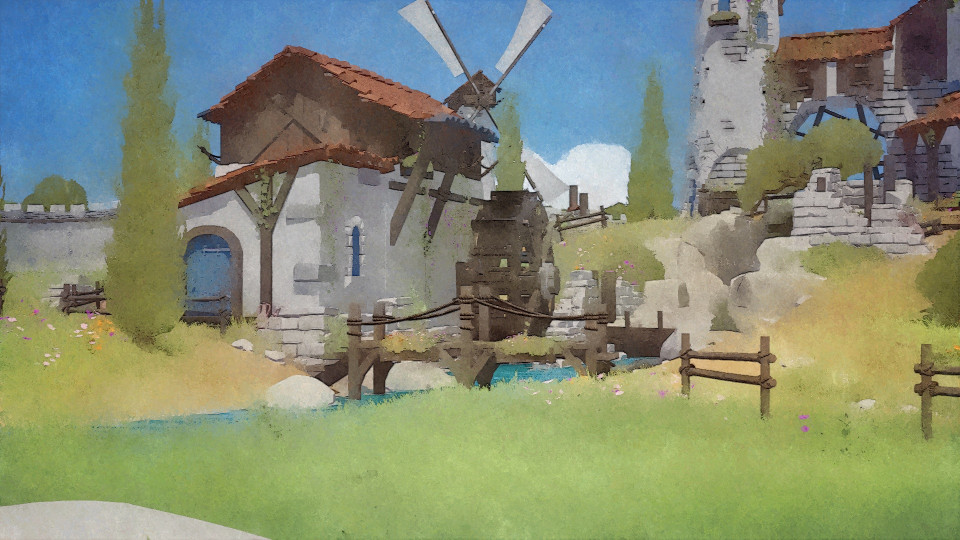
 Final:

This is how I used to process my Blender renders, but something similar can be done with any image.
I use Clip Studio Paint but you could do something similar with any art program with layers, like Krita, GIMP, or FireAlpaca.
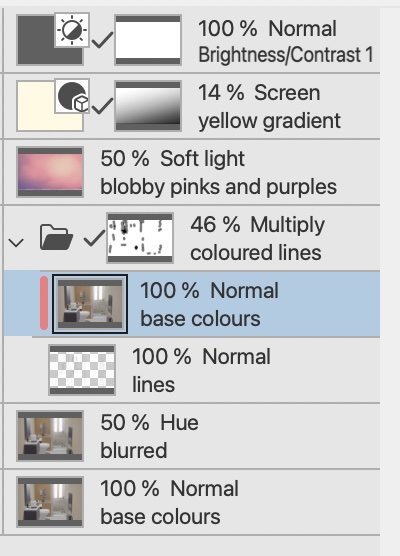
From bottom to top, the layers are:
- The original render.
- The original render blurred by 30 pixels with Gaussian Blur, then set to Hue blending and 50% opacity. This softens the colours.
- A 46% opacity multiply folder, which contains:
- The lines
- The original render, clipped to the opacity of the lines layer, so it just changes the colour of the lines
- A painted blobby yellow and purple texture layer, set to Soft Light and 50% opacity.
- A light yellow gradient diagonally across the screen, fading to transparent at the bottom set to Screen, and 14% opacity.
- A brightness/contrast layer increasing brightness by 22.
There is a mask on the lines folder which erases the lines here and there with a soft edged brush to make things look more organic.
Here's the texture I use for the soft light layer, feel free to use it in your own renders.

Fotosketcher and masks
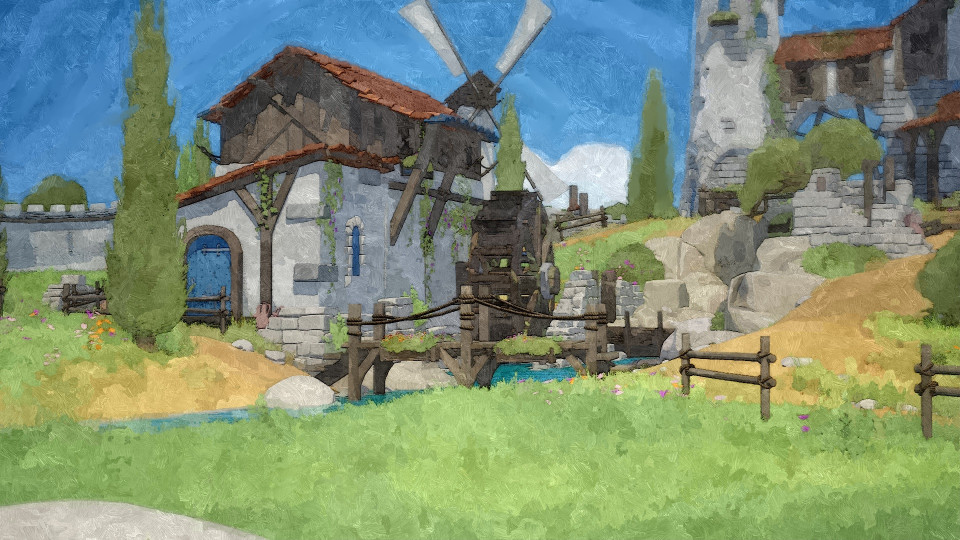
Original render:
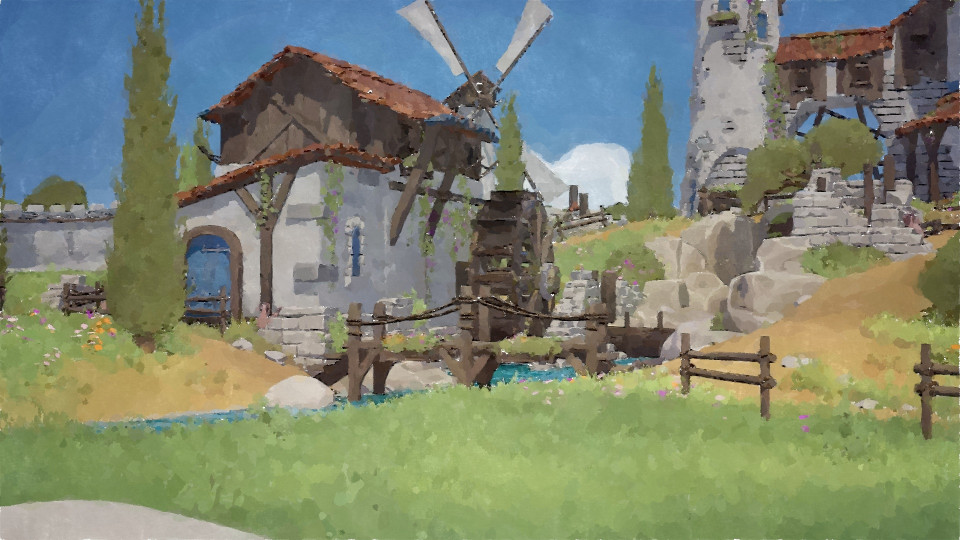
 Final:
Fotosketcher does a great job of filtering images to look like paintings, but none of the filters work consistently well for me across different images, so I combine a few of them using masks.
It often works best on 3d renders with linework. My personal favourite setting is the third watercolour filter.
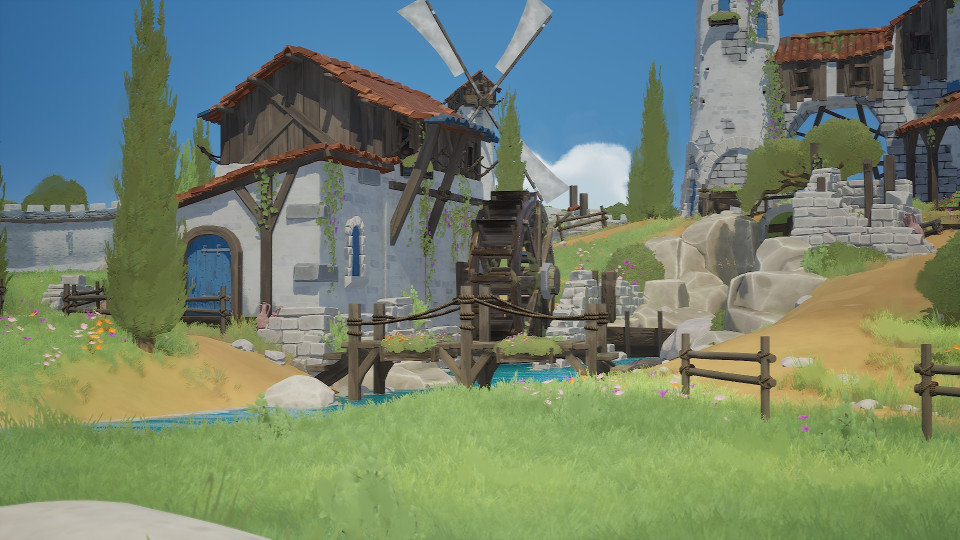
This is how I processed Unreal renders Stylized Fantasy Provencal by StylArts. To create the renders I followed the method described in Using Unreal Engine to Render Toon Shaded Environments, although since the environment already has toon shading I didn't have to add my own toon shader.
Original render:
I used a mixture of the clone stamp tool and Clip Studio Paint's textured blender to paint over parts of the image, but to be honest I'm not sure it was neccesary.
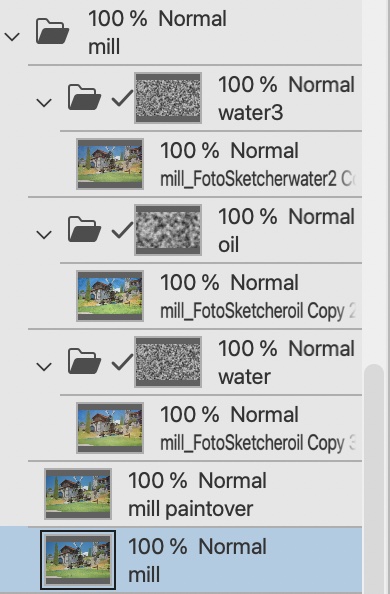
Use fotosketcher to create a few filtered versions of the paintover. Here's the ones I use. First watercolour:
 Oil painting:
 Third Watercolour:
Layer these over the top of the paintover, each masked using Perlin Noise/clouds.

Add some overlays, as in the previous section