Tutorial: Paintovers with Artrage
Tags: posts, software, links, tutorial, artrage, art, from tumblr,
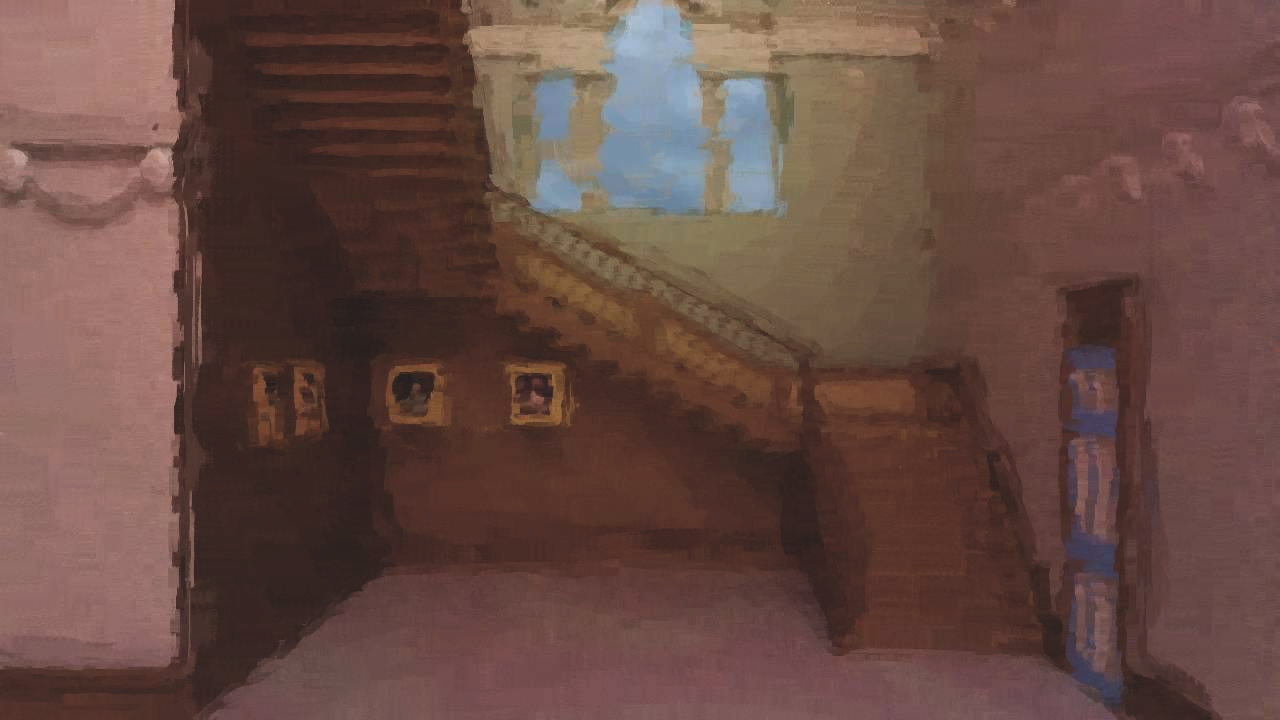
 A technique for painting over a filtered image using Artrage. In this case I am using the GIMP filtered image from Filtering with GIMP.
Open up Artrage and Import your image. Go to Tools/Tracing Options/Load Tracing Image and load it again. This allows you to colour pick from the unpainted version, which can be useful when your painting gets too muddy. Set the tracing image to be invisible so you can see your painting clearly. Make sure the paint is set to come from the tracing image. If it isn’t, set it at Tools/Tracing Options/Automatically Choose Colors from Tracing Image.

Now, in Artrage paint can be “wet” or “dry”. Wet paint moves around more freely and tends to get lumpy. Imported images are always “wet”, and I prefer the way they look when painted on “dry”. Duplicating the layer and drawing on the top layer seems to dry the paint a bit, so I do that.
Choose the palette knife, which moves around the “paint” of your image.
There’s a bunch of settings to play around with. I like to set it to the first setting at size 6, with 60% pressure and 40% loading. The “loading” adds colour from the tracing image, which stops the colours getting too muddy and can be useful if you accidentally paint over some detail.
Now start painting! Start from the back and move forward, colouring in blocks of colour, smoothing out overly harsh transitions, and reinforcing boundaries between objects. I like to think about how I would paint these shapes if I was using real paint. You don’t have to be too methodical, the filter means any small unpainted areas should look painted, and the paint loading from the tracing image means you can paint back over any mistakes.
Once you’re done you can use Artrage’s pretty basic image editing or move back to GIMP etc to add textures and overlays. I will probably fiddle with this image some more later.