Tutorial: Making a Toon Shaded Background
Tags: posts, blender, tutorial, art,
This technique requires a pretty solid grasp of Blender, and follows on from my earlier Blender Toon Shading tutorial and More On Toon Shading. I'm sure there's other ways to do this sort of thing, and I may have misremembered some things while writing this tutorial.
Here's the final image:

Setup
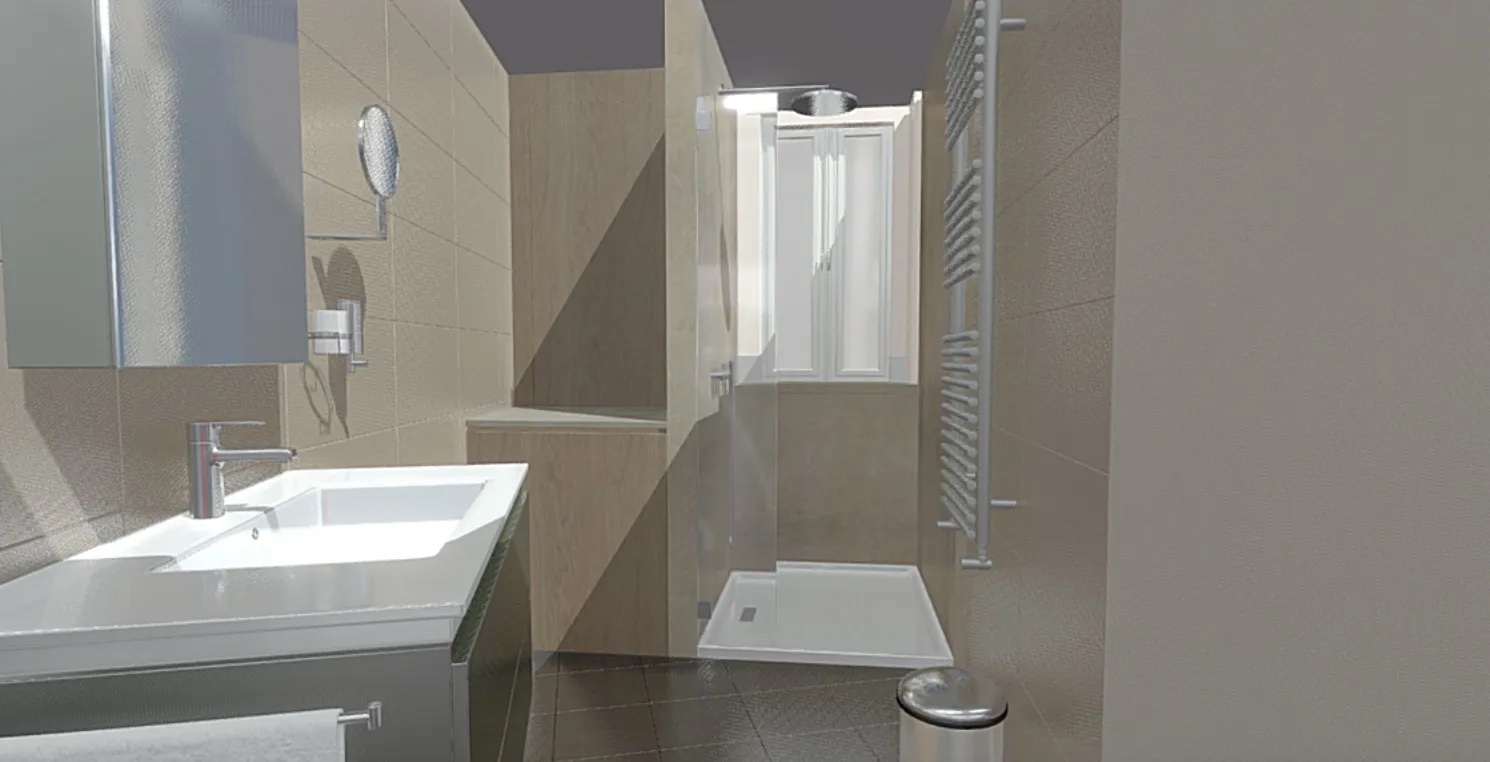
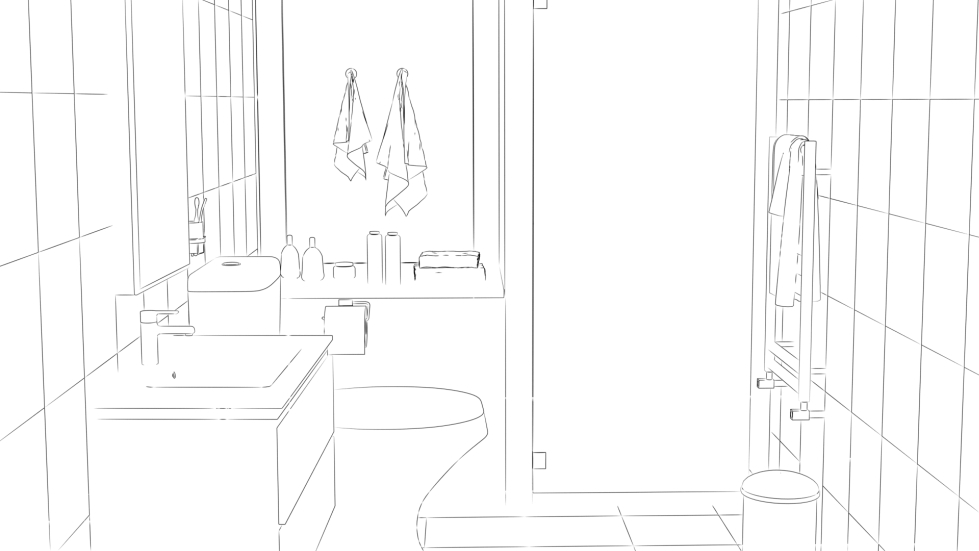
I started with Bathroom rev1 by Neospace on Sketchfab.
Here's the preview image from sketchfab:
I converted all materials into toon shaders using a "toon shader with input" node group as described in More On Toon Shading, and added lights.
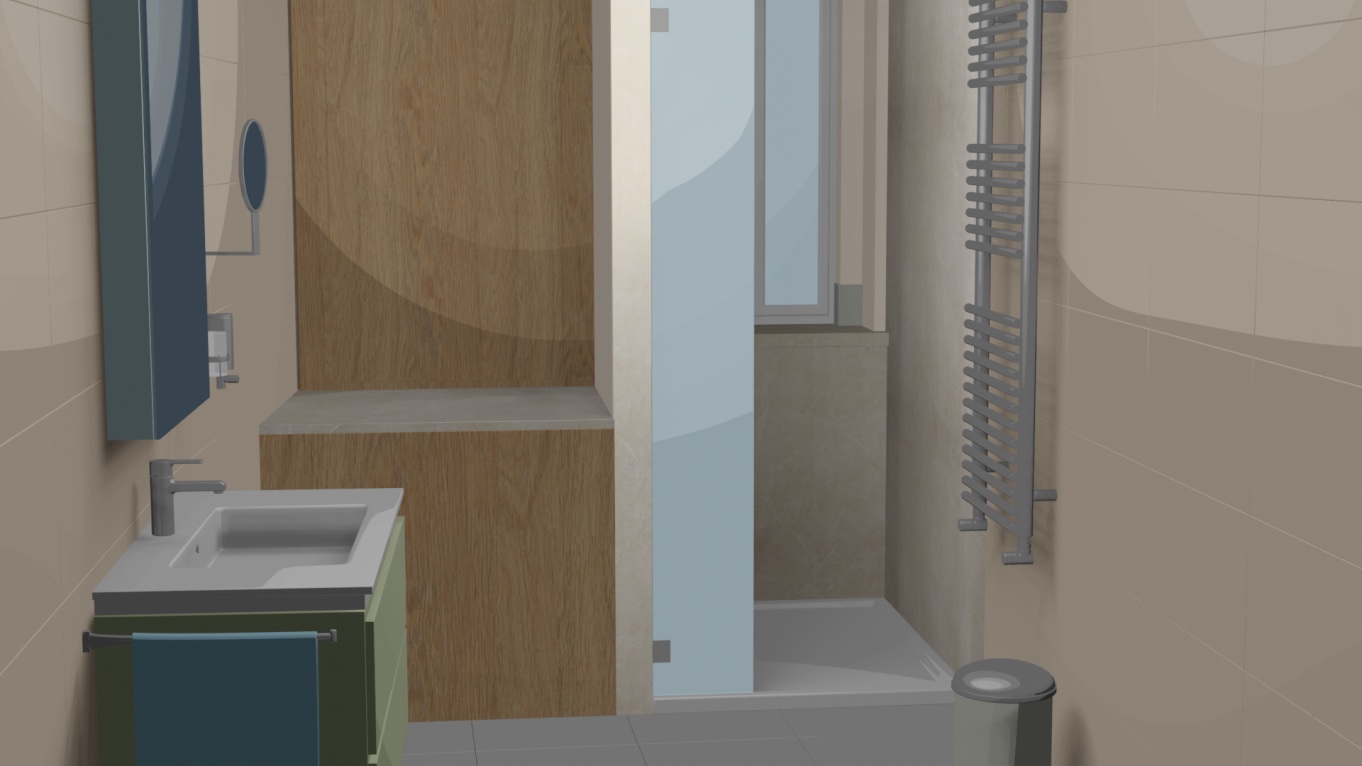
I then removed and rearranged parts of the scene, added more models from Sketchfab and Blenderkit, and tweaked the shaders using similar techniques to More On Toon Shading:

One specific trick I used was to make my own tiles, which use a sharp edged toon shader on the grout and sides, but a softer toon shader on the faces, so the overall shading is soft but there's sharper lines of dark and light between the tiles.
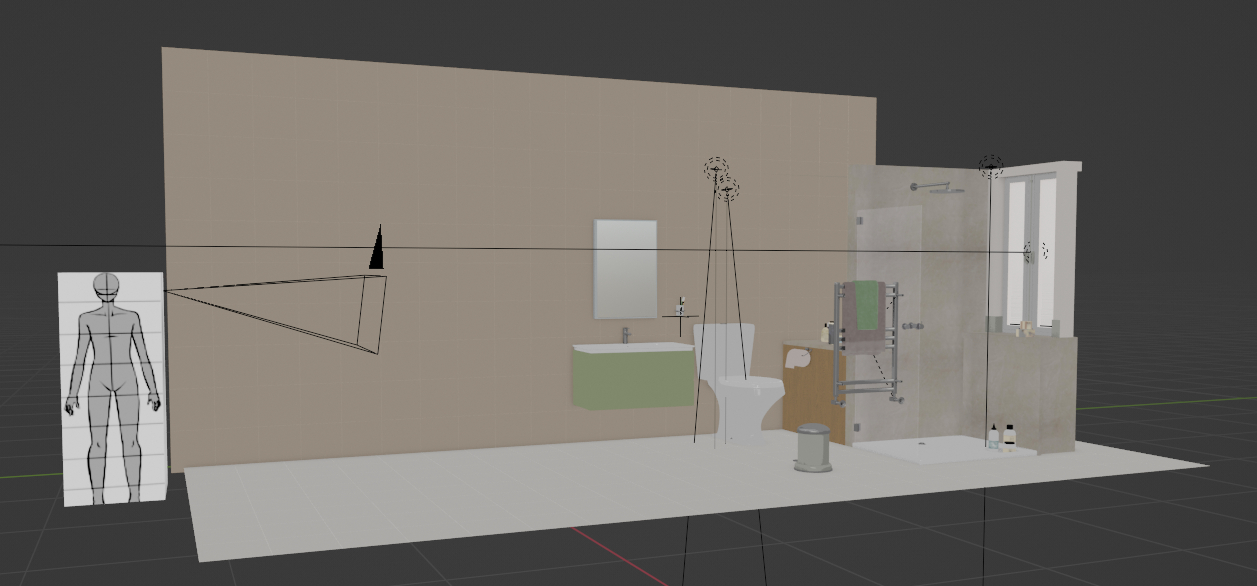
I positioned the camera to be at about eye-height, and made sure everything was in scale, using a simple human-sized guide. Here's the scene with one wall removed, to show the lights, camera, and scale guide:
Rendering
I turned on bloom, used an object in the middle of the scene for depth of field on the camera, and made sure each light had contact shadows turned on. Here's a general discussion of working around some of eevee's quirks with shadows.
I don't add any effects with the compositor, because for some reason that always causes visual artefacts when I add Bloom.
Here's the render again:
This looks pretty good, and you could stop here.
Lines
- In the Render Settings tab, check Film -> Transparency. Turn on Freestyle.
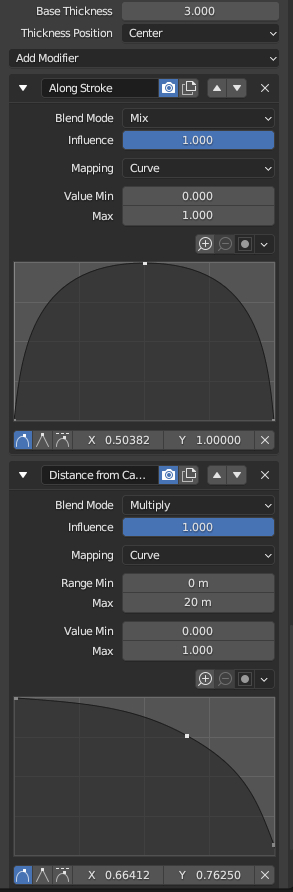
- View Layer tab: Tweak the Freestyle settings. Click "Render Pass". I use the default settings with some editing of the line width:
You can now render the lines.
Here's the rendered lines:
Post process as described in the first section of Tutorial: Post Processing 3D Renders
And here is the final image!
For night versions I add a mixture of low opacity textured dark blue multiply and colour layers.