Tutorial: Image Filtering With Fotosketcher
Tags: posts, tutorial, blender, 3d rendering, fotosketcher, art,
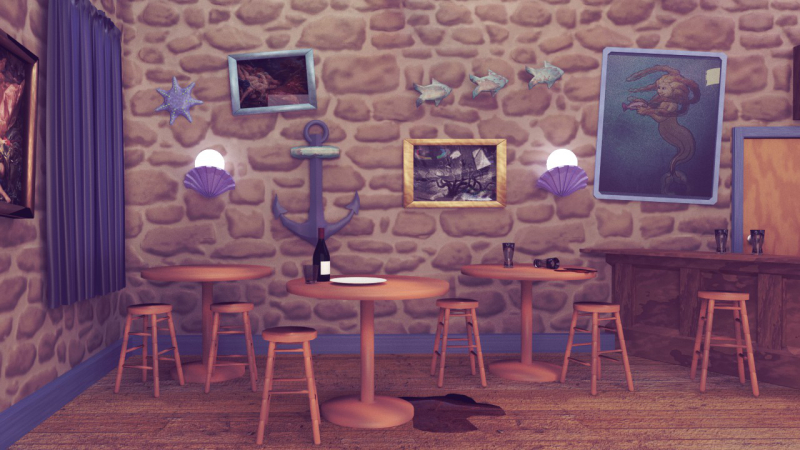
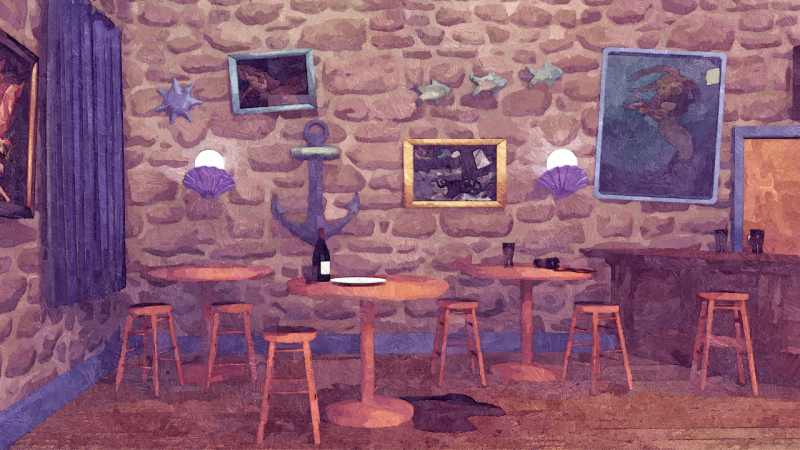
The technique my colleague Ash developed to line and filter 3D renders using Fotosketcher, Befunky, and Blender, as well as image editing software like GIMP or Fire Alpaca. These programs are all free, and allow for commercial use.

-
Create and render your 3D model. Also render the lines, if you're doing that. See: 'Tutorial: Pretty Lines With Blender'


-
Use the first vintage colour filter on Befunky at 50%
-
Edit the image from step 2 in image editing software to have 70% saturation and 130% brightness

-
Apply the watercolour filter in Fotosketcher to the image from step 3 and save it separately.

-
Apply the oil paint filter in fotosketcher to the image from step 3 and save it separately.

-
In image editing software, put the oil image from step 5 at 65% opacity over the water colour image from step 4. If you don't have lines, you are done.
-
If you do have lines, put them over the top at 50% opacity.
