Tutorial: Filtering with GIMP
Tags: posts, software, links, tutorial, gimp, art, backgrounds, from tumblr,
A technique for filtering images to look painted, using the free art program GIMP. I don't use this technique any more but thought I might as well record it in case someone else finds it useful.
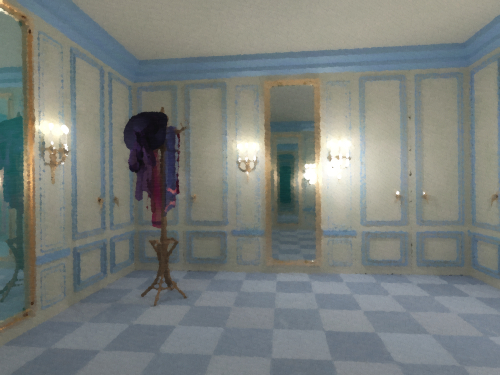
Open your image up in GIMP. I’m working with a 3D render of a dressing room I made in Blender (which is also free) but you could use a photo. My images are 1000x750 pixels, adjust the numbers accordingly if yours is a different size.

If neccesary, use the “Colors” tools to make sure the colours/contrast etc look about right. You can edit some of this later, the most important thing in my experience is that your image not be too dark. I added some brightness to mine.
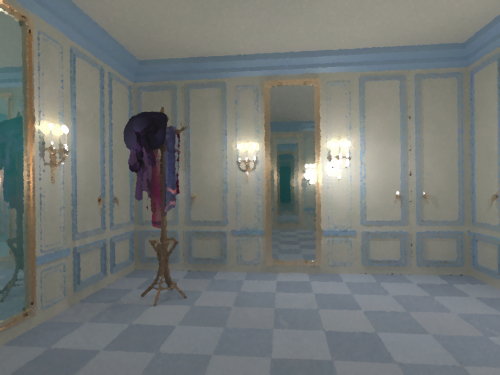
Duplicate the layer.
Apply the “Artistic/oilify” filter to the bottom layer. I set the size to 6 and otherwise leave the settings alone.
Apply the “Artistic/GIMPressionist” filter to the top layer. I set the preset to “Feathers”, minimum size to 20, maximum size to 50 and “size depends on” to adaptive.
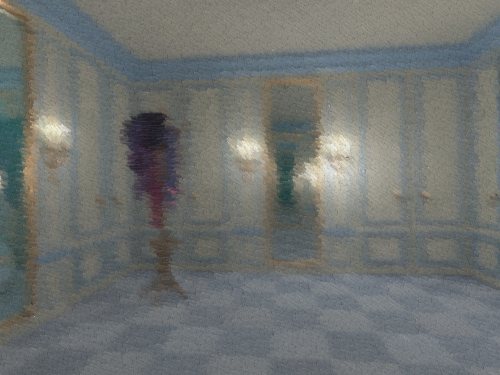
I then go to “Colors/Adjust Brightness and Contrast” and increase the brightness by 30 to make up for the darkening effect of GIMPressionist.
Then I set the blending mode to “overlay”. This is the complete base image.